Pages

Showing posts with label pattern review. Show all posts

Friday

Baby Bows Baby Doll: Pattern Review


You know what's great about this doll?  When your baby almost instantly outgrows those infant clothes and hats and shoes you so tediously and lovingly made for her, you'll have an excuse to put them on display.  You can dress up a baby doll that won't puke or pee on those lovely garments.  And you won't look like a weirdo keeping infant clothes out long after baby's outgrown them, since they'll be on her doll.  Don't you love that?  

Oh, and you get a very cute doll too!  Or like five, if you can't stop making them like me.  (I gave the rest away to nieces and nephews).  Okay, so here's the link to the page with the FREE pattern and instructions on how to make the "Baby Bows" doll.  Free is good!  The website, Judi's dolls, is geared toward serious doll makers more than general crafty types, but has a few free and simple patterns that anyone could make.  And I believe this pattern comes in a teddy bear version too, which looked cute but I've never tried making.  I originally stumbled upon this doll on Skip to My Lou, though it's almost impossible to find it there anymore, even using the search bar (which is also hard to find...).  However, Cindy has a cute little cloth diaper pattern that works perfectly with this doll, and I've made several of them.

When I made my collection of dolls (it was a couple years ago, before I had Lila), I made several changes to the pattern.  The original has ears, and I made the first doll that way but then decided it was more work than it was worth, so I left them out when making the others.  I also used a light tan soft flannel for the body, since that's what I had a lot of on hand at the time, though the instructions called for using craft velour or another knitted fabric with stretch.  I think the dolls turned out fine with the flannel - still nice and soft and squishy - but the craft velour might hold up better over the long run, since it has more give.  


Another change I made was to sew the arm and leg seams, rather than tie them up with a string into bows.  I guess this invalidates the point and the name of the pattern, but I liked the look better, as well as the way they functioned.  Also no bows to get lost, or ingested.  You can see from above that the pattern is basically two body shapes sewn together around the outside seams, so it's pretty simple and fast to make.  I also used BIC mark-it markers with ultra-fine tips to draw the facial features and eyes, as opposed to using gel ink and felt circles as the pattern instructed.  I just free-handed them on after completing the doll, which was a little nerve-wracking, but they all turned out fine.


Here's my favorite thing about this pattern:


It's reversible!  How awesome is that?  The front side is the "awake" side, and the back side is the "asleep" side.  All you have to do is take off the hat, flip the hair to the other side, and put the hat back on to secure.  If you wanted to get creative, I suppose you could do a happy/sad doll, or a boy/girl doll, or whatever.  I really love patterns that you can easily customize, don't you?  I've made these dolls with red hair, as boy dolls, with different colored eyes, etc.

Here she is in all her glory:


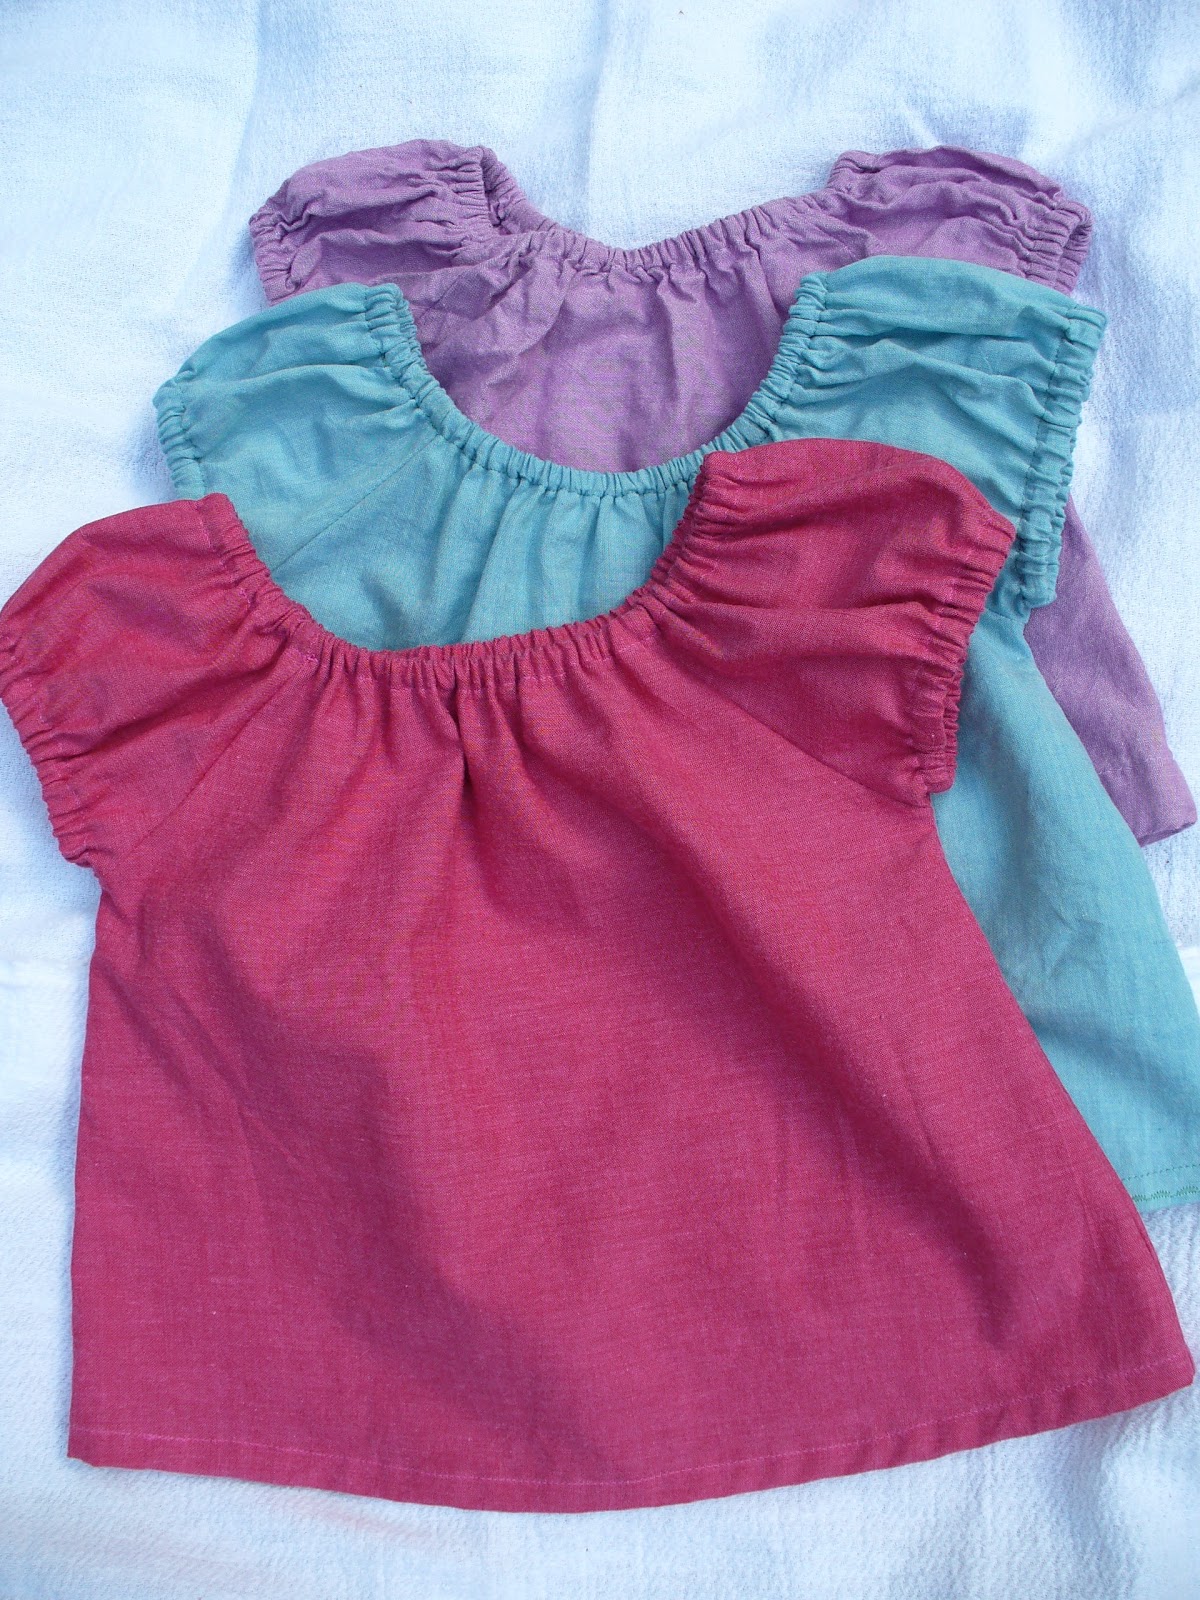
And she's sporting the infant sun hat I made for Lila (from the Purl Bee - more on that in a future post), as well as Rae's Itty Bitty Baby Dress, also made initially for Lila.  (Again, you'll see more on that in a future post.  By the way, I met Rae in person a few months ago, and she's SO friendly and funny. Just thought you'd like to know :)   I've also put various pairs of Lila's baby shoes on her, though she's barefoot in these pictures.  And I've made little diapers for these dolls too, though they were all sent to nieces and nephews.  I do believe you could use preemie disposables and they would probably fit.  

Here are pictures of the original from the pattern: 


So you can see how different you could make your own doll with just a few changes.  I obviously really like this pattern, or I wouldn't have made so many of them.  But I have to admit that Lila's a bit young, or maybe just too much of a tomboy, to care about dolls.  Her main goal when handed it is to find out how best to break it down into as many small pieces as possible - the hat, clothes, and shoes come off, and she ends up getting swung around by her hair. (The doll, not Lila.  What were you thinking?).  I blame this on her father, who is an engineering type that took stuff apart as a child.  Bad genes, I tell you. (I jest. We try not to be overly princessey around here).  

Perhaps in another year or so she'll be more interested in dolls.  However, the nieces and nephews that I've sent this doll to were older, and they played with them in a much kinder fashion.  They had a little bin they kept them in, all nice and tidy, along with their clothing and diaper changes and other accessories.  How sweet is that?  Nothing makes an Auntie prouder than to see her handmade toys being loved and cared for.  

So go ahead and make one!  Even if it's for a future child that doesn't exist yet. :)

Best Wishes,
Teresa

Tuesday

sweet little dress: pattern review


Sweet little dress, and sweet little pattern as well!  This is the "sweet little dress" pattern by Leila & Ben, priced at $6. (You can purchase the 12M to 5T pattern here.  They also have a pattern for babies under 12M and another for kids age 6 to 10 on their website, all of them downloadable PDF's). 


First let me say that I actually had fun making these.  Yes.  Fun.  Otherwise I wouldn't have hauled off and made three of 'em.  Once I'd finished the first one, the rest came together extremely fast - less than two hours apiece.  And for that investment of time, I'm very happy with the results. 

One day I will rule this Earth...
I think the simplicity of the solid fabric, shot cottons by Kaffe Fassett, pairs beautifully with the understated details of the pattern.  My sister, who has a baby girl the same age as my Lila, saw the picture above and immediately requested one for her Kira.  She actually told me she'd pay money for one.  Which of course I would never take, but I tell you, she was enthusiastic.  Well, I can't have poor Kira going all nakey, can I?  So I made her one too - the pink one.  It's in the mail and on the way as I'm writing this.  (Don't tell!)


These are sized for a 12 month old, larger than our nine month old babies, so there's room to grow.  I modified the pattern on all three to make them more of a short dress, which will later function as a regular shirt.  I thought the shorter length, cut above the knee, was cuter for a baby, and easier for them to crawl, scoot, and pull themselves up in.  The purple one is hemmed very short, so that it fits as a shirt for now.  However, if you look closely, you'll see the hem is set higher, and that's because I have another, hidden hem rolled up and pressed inside there.  So all I have to do when I want more length is undo the outer hem, wash, dry, and press the bottom, and it'll be all ready to go - no more sewing required.  Yay!

see the different hems?
And looking closely at the hem on the blue dress, you'll see that I've added embroidery along the bottom, just for an extra little something (and because I've been searching for an excuse to try that stitch on my sewing machine, truth be told).  

What I Learned:
First, the pattern cut-out.  I had to pay a lot of attention while cutting out the pattern, and do a lot of cutting and taping of different pieces which had printed across multiple pages to form the body pattern.  It was a little confusing there for a second, and took a bit of time.  Looking closely at the pattern, I think it may be more of an issue for the 12M size than the others.  But with a bit of patience it came together correctly in the end - no big deal.  


To modify the length, I traced the bottom hem onto a sheet of paper, cut it out to use as a template, and then placed it over the original pattern, moving it up and down until I was happy with the length.  Then I traced it onto the original, and cut.  This left me a shorter pattern, but the same slight curve along the bottom the original version had.  Make sense?  

When cutting out the fabric, I realized the sleeve pattern was a mirror image just like the body piece, and could be folded in half and placed along the fold of the fabric for cutting, just like you do for the body piece.  Since there are two sleeves per dress this saved me a bit of time, and after making three of these, it added up.  If you have a baby you know what I'm talking about here.  Craft time = nap time - (cleaning+laundry+errand+cooking time) = not a lot of time.  Along the same lines, I discovered that sewing all four of the sleeve seams first, and then going back and zigzag stitching to finish them, saved some time. (Rather than sewing one, switching over to zigzag, adjusting settings, trimming, and switching back again as the pattern instructs).  


And a final tip: be careful when sewing around that neck hem - if your fabric is anything like mine, it will want to unroll itself as you sew that curve, and chaos will ensue.  The seam ripper will pay you a visit.  And you know you don't want that.  So take your time, and make sure those seam allowances are well pressed before you start.  Luckily, the neck is all elasticized in the end, so minor mistakes won't show.  And you know your little darling is just going to puke up all over it anyway, right?


In the end, this was a simple, easy to follow, guaranteed success kind of a pattern.  And because it's basic, I could envision all kinds of sweet ways to make it your own - embroidery, applique, coordinating sleeve fabric, bias tape or rickrack for trim along the bottom, pockets, buttons, golly gee.  I'm starting to want to make another, just so I can try out something from that list.  If you'd like to see some very cute variations of this dress using patterned fabrics, corduroy, and in full length, check out this post from Maggie over at Smashed Peas and Carrots.  Since I have the basic pattern through 5T,  I know I'm going to get a ton of use from it.  So, final review: I'm really happy with this pattern.  

my cutie patootie, with Sukie on guard
See the above photo?  That's Lila, pointing to the end of my blog post.  As in, finish up Mom, and come play with me!  Yes ma'am.

Best wishes,
Teresa